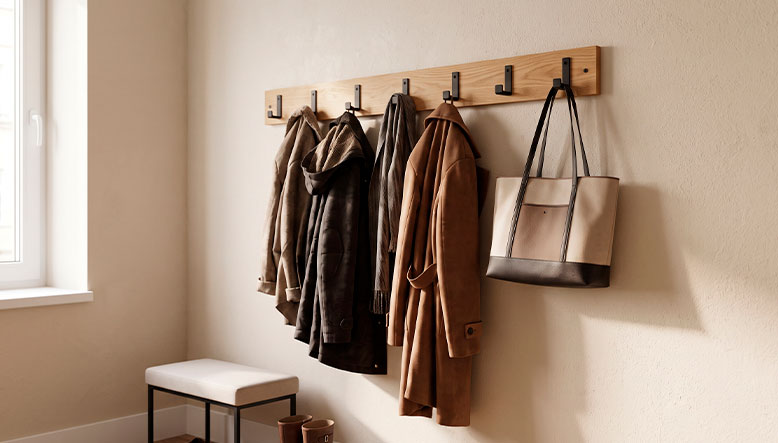
The entryway is the calling card of any home. It serves as the transitional space between the outdoors and the comfort of the private living area, and its functionality directly influences the daily routine of the entire home.
When you get home, especially during the cold or rainy seasons, you immediately need to take off your coats, jackets, bags, and umbrellas. Without a proper storage solution, these items end up piling up haphazardly on chairs, sofas, or side tables.
Get your home ready for coats. We’ll give you design ideas and step-by-step instructions for installing a coat rack in your entryway—safely, durably, and with impeccable style.
From the technical perspective that sets us apart at Paratureforma.com, the installation of an element subjected to heavy dynamic loads should not be taken lightly. A faulty installation can lead to detachment, damage to the paint, or the complete collapse of the wall, especially when working with lightweight drywall partitions.
In this comprehensive professional guide, we’ll cover everything from the stylistic planning of the entryway to the proper selection of anchors, drill bits, and tools, ensuring a sturdy installation capable of withstanding the daily weight of the whole family’s clothes.

1. Functional Planning and Design Criteria for the Entryway
Before drilling into any surface, it is essential to plan the space with both ergonomic and aesthetic considerations in mind. The design of the coat rack should take into account both the dimensions of the entryway and the actual needs of the household.
1.1. Ergonomics and Strategic Mounting Height
The standard height for mounting a coat rack on the wall in an entryway ranges from 160 cm to 170 cm from the floor to the top of the rack’s base. This height allows most adults to hang long coats without them dragging on or scraping against the baseboard or lower furniture. However, it is advisable to adjust this measurement:
- Households with children: It is highly recommended to install a second row of individual hangers at an accessible height of between 100 cm and 120 cm, encouraging independence in young children.
- Coat racks combined with a bench or shelf: If the coat rack includes a top shelf for hats or baskets, be sure to leave a minimum of 30 cm of clearance between the top of the rack and the ceiling to allow for easy access when placing items.
1.2. Design Ideas and Stylistic Integration
The market offers a wide variety of formats. Your choice should complement your wall coverings and the home’s decorative style:
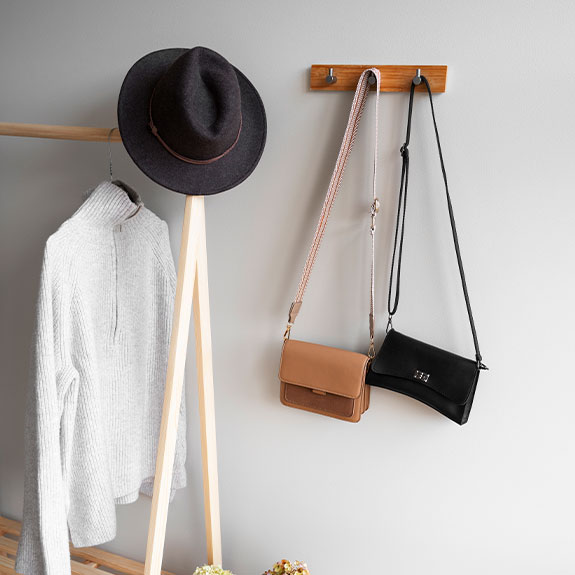
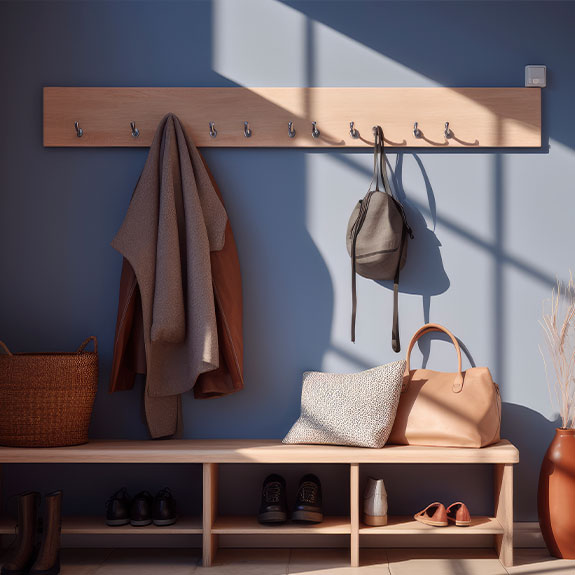
- Continuous wooden slat coat racks: Ideal for Nordic, rustic, or cozy interiors. They offer a clean, minimalist look and allow you to hide the mounting hardware behind the hooks themselves.
- Individual industrial-style or metal coat hooks: They allow for dynamic arrangements (in a crenellated pattern, diagonally, or scattered) and are ideal for small walls or corners.
- Decorative panels with wood slats: These panels combine acoustic and aesthetic insulation with the functionality of a support structure for heavy-duty hanging hardware. At Paratureforma.com, we offer slatted panels that are perfect for covering the entryway wall before installation.
2. Identification of the Wall Surface and Selection of Fastening Materials
The key to a safe installation lies in selecting the right anchoring system for the type of wall you’re working on. Using an inappropriate wall anchor is the main cause of failure when the coat rack is loaded with several heavy or wet coats.
2.1. Installation on masonry walls (solid brick, perforated brick, or concrete)
These walls have high mechanical strength. They allow for the use of conventional nylon expansion anchors (SX or Fischer DUOPOWER type) with a diameter of 6 mm or 8 mm. The load-bearing capacity of this type of wall is extremely high, allowing it to easily support distributed weights exceeding 40 kg.
2.2. Installation on drywall (Laminated gypsum board / Placo)
They require a specialized technical approach. Gypsum board alone has limited resistance to vertical tension and tearing. To install coat hooks on these surfaces, the following systems must be used:
- Metal umbrella or expansion anchors (Molly-type): When the screw is tightened, the metal umbrella unfolds behind the plate, distributing the leverage force over a wide area. This is the safest option.
- Gravity- or spring-loaded tilting blocks: Ideal when the posterior cavity of the septum is unknown.
- Locating Metal Profiles (Uprights): The best approach is to locate the galvanized steel profiles using a metal detector and secure the fasteners directly to the load-bearing structure with self-tapping screws.
3. Tools and Materials Needed
To complete the project with professional precision, make sure you have the following DIY tools (available in the tools and hardware section of Paratureforma.com):
- Coat rack or individual coat hooks with their corresponding hardware.
- Hammer drill (for brick) or cordless screwdriver with variable speed.
- A masonry drill bit or a drill bit specifically designed for metal or wood, depending on the type of wall.
- Spirit level or laser level to ensure perfect horizontal alignment.
- Metal and cable detector (to prevent accidental drilling into pipes or electrical lines).
- Tape measure, carpenter’s pencil, and rubber mallet.
- Anchors and screws appropriate for the estimated weight and type of wall.
4. Step-by-Step Guide to Safely Installing the Coat Rack
Below, we outline the installation procedure to ensure a solid, level, and flawless finish.
Step 1: Safety Inspection of the Work Area
Run the cable and pipe detector over the area you’ve chosen for the installation. Entryways often have electrical junction boxes or lighting fixtures near the front door; make sure the drilling radius is 100% free of wiring and piping.
Step 2: Marking and Technical Leveling
Position the coat rack or mounting template on the wall at the selected height. Place the spirit level on the top edge of the unit. Once the level is centered, use a pencil to mark the center of the mounting holes. For very long coat racks, transfer the marks with millimeter precision to prevent the stress from screwing them in from warping the wood or the support.
Step 3: Drilling into the wall
Select a drill bit with the same diameter as the anchor you’ll be using. Adjust the drill’s depth stop or wrap a piece of masking tape around the drill bit to the length of the anchor to prevent over-drilling. Drill with the drill held perpendicular to the wall (90°). For brick walls, use the hammer drill setting at medium speed; for drywall, use the rotation-only setting without hammering to avoid crumbling the drywall core.
Step 4: Inserting Anchors and Mechanical Fastening
Remove dust from inside the holes by blowing it out or vacuuming it. Drive the flush-mounted anchors into the wall using a rubber mallet, tapping gently so as not to damage the plaster. If using metal expansion anchors for drywall, use the special riveting pliers to open the rear flange before inserting the screw.
Step 5: Securing the coat rack and checking the load
Align the coat rack hardware with the installed anchors. Insert the screws and tighten them firmly without stripping the threads. Once installed, apply gradual downward pressure by hand to check the stability of the assembly before hanging your clothes.
Conclusion and Final Recommendations
In conclusion, knowing how to properly install a coat rack on the wall in an entryway combines the aesthetic sensibility of interior design with the technical precision of mechanical fastening. Planning the appropriate height, assessing the type of wall, and using the right anchors ensures an organized, welcoming entryway that is built to support the weight of coats for years without deteriorating.
In the Paratureforma.com catalog, you’ll find a wide variety of building materials, hardware, high-strength anchors, professional tools, and home renovation solutions that will help you transform every corner of your home with the highest guarantee of quality.
At what height should a coat rack be mounted on the wall in the entryway?
The recommended standard height ranges from 160 cm to 170 cm above the floor. If you have children at home, it’s very helpful to add a second row of hangers at an accessible height of between 100 cm and 120 cm.
What kind of anchors do I need if my wall is made of solid brick or concrete?
For masonry walls, standard nylon expansion anchors (6 mm or 8 mm) should be used. These offer extremely high mechanical strength and can easily support weights exceeding 40 kg.
How can I mount a heavy coat rack on a drywall wall?
Since drywall has limited load-bearing capacity, you should use metal expansion anchors or umbrella anchors (Molly-type), tilting anchors, or use a metal detector to screw directly into the steel studs of the frame.
What is the most important precaution to take before drilling into the entryway wall?
It is essential to run a cable and pipe detector along the installation area. Entryways usually have junction boxes and light switches near the door, so you must make sure the wall is free of wiring and plumbing.
What tool do I need to make sure the coat rack is perfectly straight?
You should use a spirit level (placed on the top edge of the cabinet or template) or a laser level. Perfect horizontal alignment is key both for aesthetics and for distributing weight evenly.