Deliver to: Columbus (43215) US
Change delivery settings
 English
Contact us
Request a quote
Sample shipping


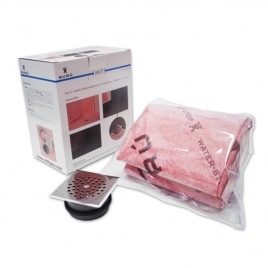
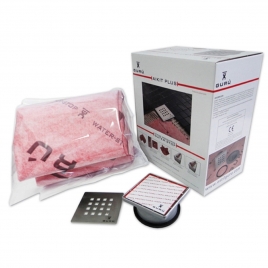
Evolux System Kit with integrated spot grid 15x30cm
€260.00
314,60 € VAT incl. 21%
314,60 € VAT incl. 21%
Receive it between 3 and August 5.
Free shipping!

Reference: IE45009
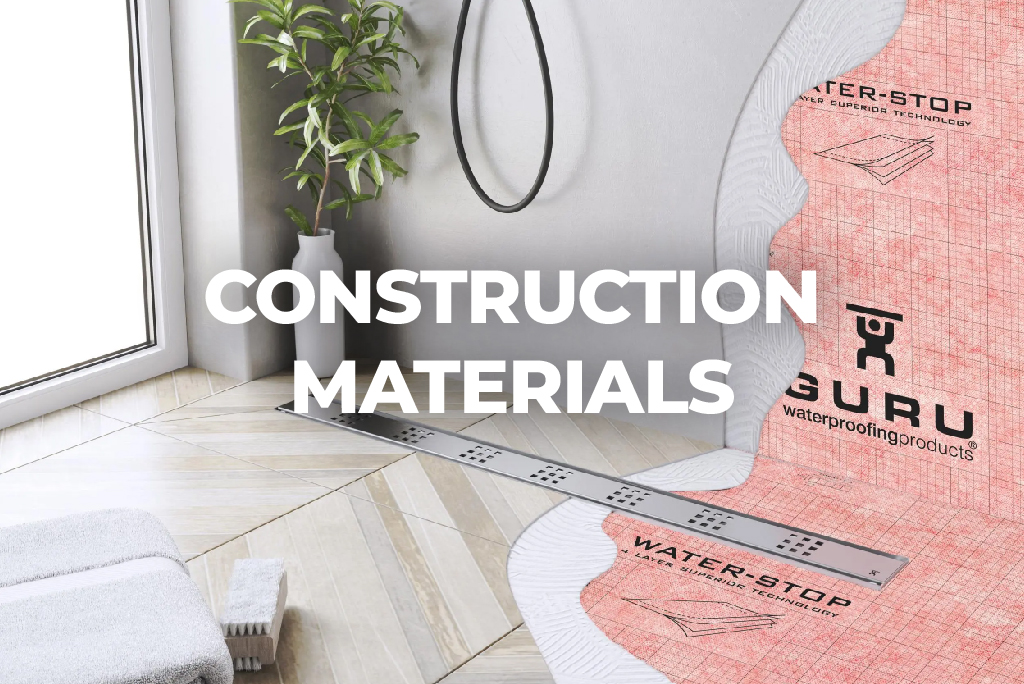
FREE SHIPPING!! The Evolux system is a solution for the waterproof protection of floor areas with water evacuation such as built-in shower trays. It consists of a WATER-STOP sheet bonded and heat-sealed to a special sleeve for connection to the drain.
37,00 €
45,00 €
45,00 €

8,00 €
8,00 €
5,00 €


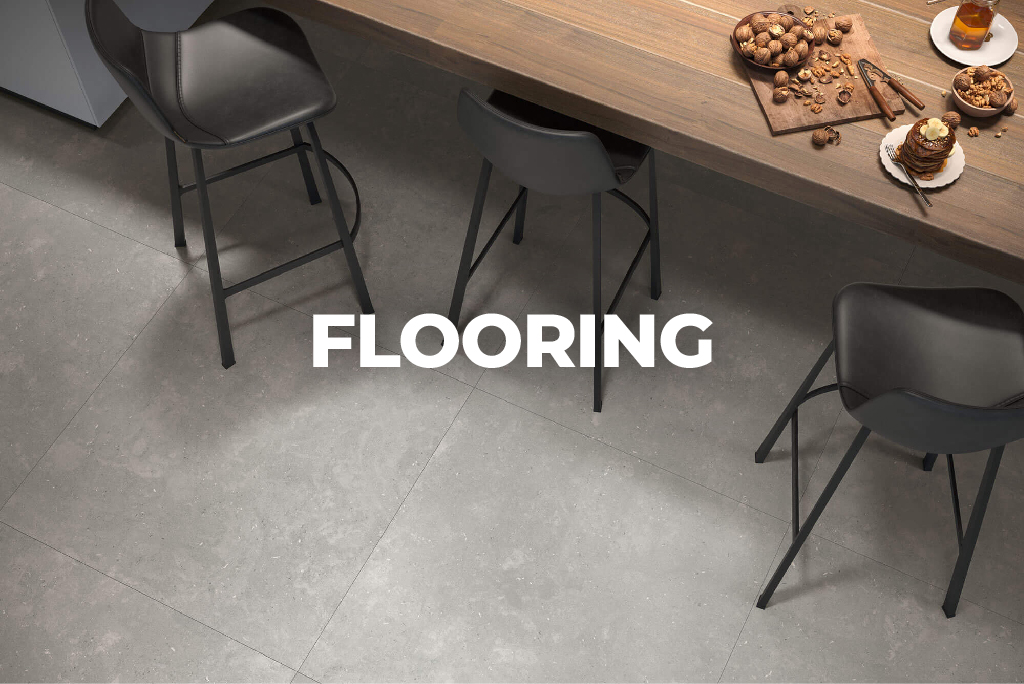
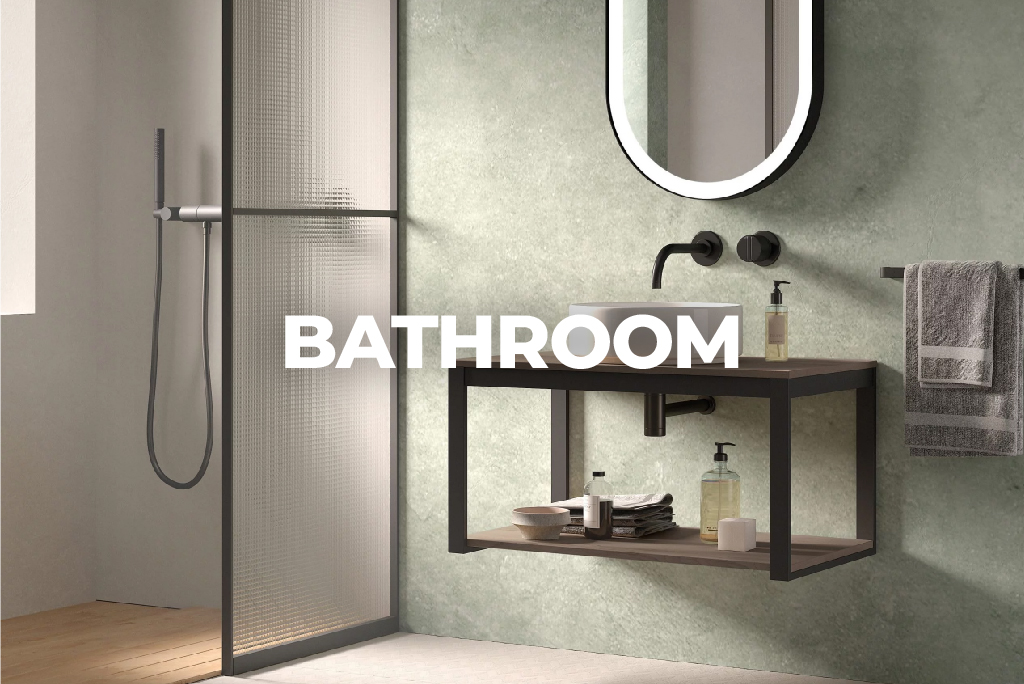
Table of Contents
Solution to make waterproof protection for built-in shower trays. It is composed of a WATER-STOP sheet attached and sealed to a special sleeve for connection to the drain and all the components for evacuation.
It consists of:
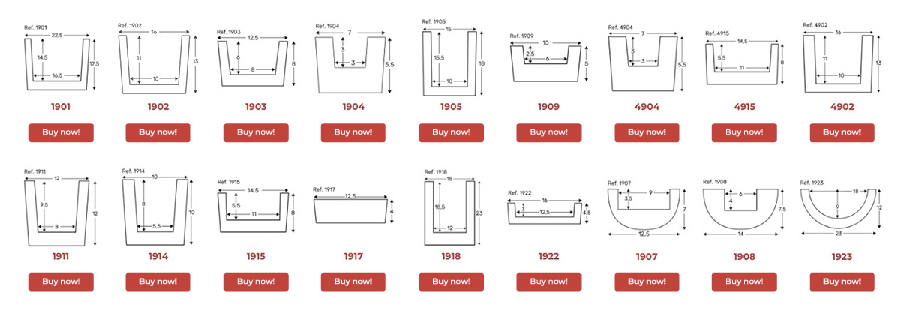
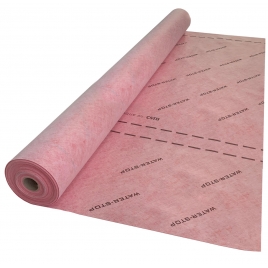
- Water-stop sheet of 1.5x2m (3m2) with connection adapter in a centered position at the width and 66 cm from the edge.
- Low profile siphon sump compliant with 1253 parts 1 and 2
- 360° swivelling horizontal outlet with DN/DI 50 connection - (50 H)
- 50 mm high siphon with possibility of cancellation.
- Reducer DN 50/40 - (50 m / 40 h)
- Pressure connections by O-rings and sliding joints, without gluing.
- Siphon body and adapter: ABS; Reducer: PP; Gaskets: EPDM
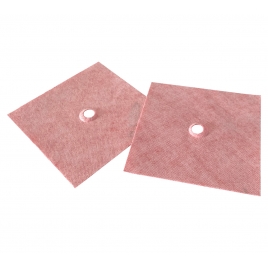
- 2 pipe reinforcement units
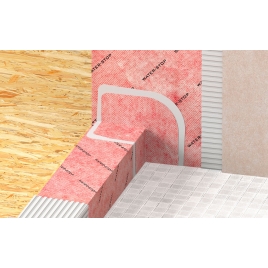
- 2 x Interior Corner Reinforcement Units
- Evacuation flow according to model: minimum 0.4 l/s and up to 0.6 l/s
WATERPROOFING: Water-Stop sheet of 1.5x2 meters with the evacuation in the position centered to the width, attached and sealed to the connection sleeve to the drain. Snap connections with elastic gasket and O-rings.
EVACUATION: PP bowl with horizontal outlet DN/DE 50. Snap connection with sliding sleeve of elastic joints DN/DI 50. Channel and grid in AISI 304 stainless steel, internal slopes and side grooves that provide linear evacuation to 1 or 2 slopes. Evacuation flow 0.4l/s (24 liters per minute).
EVOLUX allows a minimum installation height of 95 mm with 6mm or 9mm thick flooring.
Installation procedure of the Evolux system
1.- Prepare the shower area
Provide the necessary height or depth to be able to have a slope/s of at least 1% from the edges of the shower area to the water collection point. At the point of drainage, a minimum base thickness of 78 mm is required.
2.- Install the siphonic body of the drain:
Orient the siphon outlet in the right direction to facilitate connection to the drain pipe.
Verify that the drain pipe has the appropriate slope towards the evacuation or downspout.
Connect the siphon outlet to the drain pipe using the elastic joint sliding sleeve: lubricate the elastic joints with soapy water, insert the drain pipe into the sleeve and slide it4 until the end of the pipe is protruding, face it with the siphon outlet and slide the sleeve back until it meets the siphon body.
Cover the mouth of the siphon body with the installation cap provided.
3.- Make the mortar support base:
Pour the mortar until it is flush with the upper part of the siphon body and form the necessary slope or slopes depending on the model and position of the water collection tray.
4.- Install the waterproof film:
Once the mortar base has hardened, remove the installation cover from the mouth of the siphon body and attach the still folded sheet by inserting the adapter that is folded.
Unfold the foil and adjust the alignment by rotating the adapter (never pulling the foil). In the final position, press the adapter vertically until it stops at the base.
Glue the sheet with C2 adhesive cement on the clean and dry mortar surface.
Extend the excess sheet vertically on the walls by a minimum of 10 cm.
5.- Place the water collection tray:
Lubricate the elastic gasket of the adapter with soapy water and insert the outlet tube of the tray.
Apply a little adhesive mortar for the seat of the tray and proceed to orient, align, shim, level and adjust the height according to the thickness of the pavement so that the upper edge is flush with it.
6.- Lay the lining:
Stick directly on the sheet horizontally and vertically with C2 type cement glue.
Grouting the frame to the floor with elastic putty and placing the grid.
Observations and recommendations
TO MOVE THE DRAIN: IF THE POSITION OF THE DRAINAGE POINT MAKES IT NECESSARY TO MOVE THE DRAIN WITH EXCESS SHEET ON ONE SIDE AND MISSING ON THE OPPOSITE, THE EXCESS CAN BE CUT RESPECTING THE 10 cm LIFT and stick it where necessary by joining the sheets by means of an overlap of 5 to 10 cm wide and in favor of the slope.
TO GLUE THE JOINTS BY OVERLAPPING: ON SMALL INTERIOR SURFACES SUCH AS CONSTRUCTION SHOWERS, THE SAME TYPE C2 adhesive cement from the installation can be used. If you want to reinforce the tightness, you can use W-S BUTYL adhesive tape or sealing adhesive putty type W-S MASTIC.
TO COMPLETE THE WATERPROOF PROTECTION: TO AVOID PROBLEMS WITH HUMIDITY IN AREAS ADJACENT TO THE SHOWER, IT IS ALSO ADVISABLE TO PROTECT THE WALLS, AND ESPECIALLY IN THE WATER INTAKES, WITH THE WATER-STOP FILM IN ROLLS AND ITS ACCESSORIES.
TO GLUE WATER-STOP TO THE SUPPORT: IN CONCRETE, BRICK OR MORTAR RENDERING, USE C2 TYPE ADHESIVE CEMENT. For other substrates such as plaster, antique ceramics and others, verify that the chosen adhesive is suitable for the substrate. Follow the manufacturer's instructions for your application.
TO GLUE THE COATINGS TO WATER-STOP: ON CERAMIC FLOORS OR SIMILAR, USE C2 TYPE ADHESIVE CEMENT. For other coatings such as wood, textiles and others, use an adhesive suitable for the coating and suitable for moisture. Follow the manufacturer's instructions for your application.
| Product | Evolux System Kit with integrated spot grid 15x30cm |
| Brand / Manufacturer | Estil Guru |
Reviews for Evolux System Kit with integrated spot grid 15x30cm
Do you need to know anything else?
What do you want to know about this product?
Send