 English


")


")

 Peygran")
")
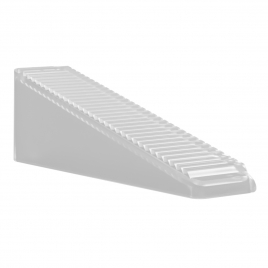
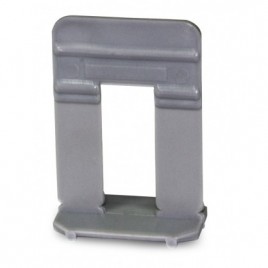
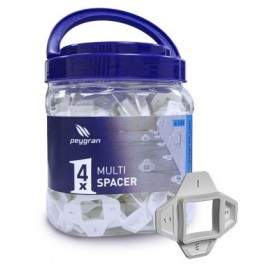
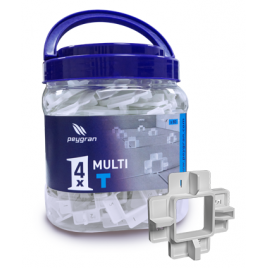
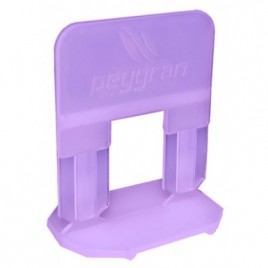
1.5 mm Peygran chock (Bag of 300 units)
20,49 € VAT incl. 21%
 Calculate your shipping costs
Select zone and quantity
This product has free shipping from: 69,00 €

1.5 mm Peygran chock (Bag of 300 units) or Bases for the Peygran system. 1mm chocks in a bag of 300 units

16,93 €
21,07 €
6,01 €
4,00 €
7,90 €
6,15 €


Table of Contents
1.5 mm Peygran chock (Bag of 300 units) or 1.5mm thick leveling base for tiles, tiles, floors, racholas and any type of ceramic. The bases are not reusable. Each bag contains 300 units. With the levelling system for Peygran floors and walls, we will avoid the well-known "steps" (protrusions or eyebrows). This type of defects, which are sometimes attributed to the quality of the ceramics, are usually the result of irregular setting; or of very heavy, thin or complex parts to install. With the leveling system, we ensure that the pieces are attached to each other, preventing them from moving during setting. In addition, we will save time in the installation and therefore, money, because we will not have to be so aware of those unpleasant damages that occur after installing the tiles after the cement glue has set. It will also facilitate the installation of complex, heavy or thin parts. Resulting in quality work.
- First of all, it must be taken into account that the support must have a good planimetry. Essential in large formats.
- First we must adjust the pliers on the scale, according to the thickness of the ceramic.
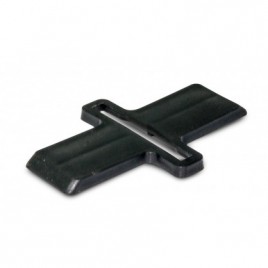
- Double gluing is recommended. Spread the adhesive cement and place a piece. Then, we will introduce the chocks or bases, and we will continue to place the adjacent tiles.
- Subsequently, place the wedges in the chock manually.
- Then, squeeze the wedges with pliers to make the pieces flush. Once flush, it is advisable to lightly hit the ceramic with the rubber mallet to release tension.
- Let the time recommended by the cement glue manufacturer set.
- Once set, we will remove the chocks or bases. To do this, hit the chock with the mallet or the foot, in the direction of the joint. Do not hit the wedges.
- Finally, recover the wedges and proceed with the grouting process.
Use of this chock according to the thickness of the tile:
- For tiles with a thickness between 3 and 5 mm, it should be used together with the supplement, so that the wedge acts as a pressure correctly
- For tiles with a thickness between 6 and 15 mm, the chock can be used individually.
- For tiles thicker than 15mm, the highest stone chocks should already be used.

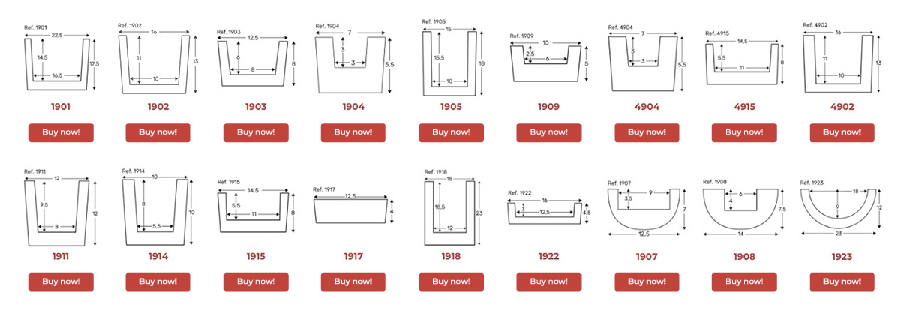
How many Peygran chocks or bases do I need to buy?
Very easy, just look at this table and you will know how many you need. It depends on the dimensions A and B of the ceramic tile you are going to install. For example, if the tile measures 100 x 40 cm on each side, you will need 17 chocks per square meter. You should keep in mind that foundations are not reusable and wedges are.

Tips with Peygran chocks

If you leave the installation halfway at the end of the day and continue the next day:
Be sure to remove the fastening material or mortar from the next fila of slabs. We will also use the base of a chock to leave a small hollow point in the mortar of the last fila of tiles placed, which will allow you to insert the base of the chocks into it the next day. The next day, first make sure to fill in the hollow spots from the previous day with a margin trowel and fill the back of the slab with the mortar material. Insert the chocks and wedges and resume the installation, following the same process.

Do not remove the shims manually before breaking the system:
In order for it to break properly, the chock must be in tension. If we remove the wedges before, we will eliminate this tension, so they will not break properly. If they do not break correctly due to the above, we can pull the chock with pliers. It will always break due to the patented precuts that it has and therefore, under the slab.

Never install the leveling system at the corners of the slabs.
It will be more difficult to make a precise installation, it could even break the ceramic tile by squeezing it from the corner and get up from the rest; in addition to being very difficult to keep the filling joint aligned.
HOW TO USE
Bracket placement:
After spreading the cement glue, place the supports under the pieces on all 4 sides.
For large parts use one or more supports per side.
Place the tile and hit with the rubber mallet.
Insertion of the wedges:
Insert the wedges into the housing by squeezing without exceeding the breaking point.
To facilitate this task, the use of the adjustable traction clamp is recommended.
Removal of the support:
Once the glue cement has set, to tear off the support simply tap with the rubber mallet or with the tip of your foot in the direction of the joint.
 |
|
 |
 |
 |
 |
|
| Product | 1.5 mm Peygran chock (Bag of 300 units) | 1 mm Peygran chock (Bag of 300 units) | 0.5 mm Peygran chock (Bag of 300 units) | 2 mm Peygran chock (Bag of 300 units) | 1 mm Peygran chock (Bag of 500 units) | 0.5 mm Peygran chock (Bag of 500 units) |
| Ratings |
|
|
|
|
|
|
| Manufacturer | Peygran | Peygran | Peygran | Peygran | Peygran | Peygran |
| Price | 16,93 € | 16,93 € | 16,93 € | 16,93 € | 26,00 € | 26,00 € |
| Price difference | +9,07 € | +9,07 € | ||||
| View product | View product | View product | View product | View product | View product |
Reviews for 1.5 mm Peygran chock (Bag of 300 units)
Do you need to know anything else?
What do you want to know about this product?
Videos
Peygran ceramic leveling system


 Peygran")
")